I have a Fibaro Motion Sensor and a Fibaro Double Switch connected to two different lights in the basement.
I want to use the motion sensor to turn on one of the lights when it detects motion and turn the light off when no motion has been detected for example 5 minutes.
I can do this by setting up a scene but I would instead like to use a direct association.
I have tried to add a association under Device Options on the motion sensor. I use Group ID 1 (the manual states “1st Association Group is assigned to the device status ? sending the BASIC SET control frame to the associated devices having detected motion.”) and then “Set to” to the Fibaro Double Switch. Because the Fibaro Double Switch have two inputs I use Multi-channel association number 2.
This does not work. The motion sensor is configured with the settings and register motion, but the lights are not controlled.
Have anyone succeeded in associating a Fibaro Motion Sensor with a Fibaro Double Switch?
Did you manage to get the Fibaro Motion Sensor working correctly with the lights ?
I have been trying to do the same thing - I’m running a scene which always has a slight delay when the motion sensor is triggered - the association would hopefully be faster in triggering the light
It should work but you need to use Association Group 2.
I have a Fibaro Motion Sensor and a Fibaro Dimmer 2 module that work together via direct association. Although its still not always that fast at turning on the lights when you walk in to the room. Some times its right away other times you are standing in the dark for a bit. Don’t know why?
I have tried group 2 but couldn’t get it to work - I have read quit a bit on the internet and messed around with all the Fibaro settings - not sure if you need to use a Fibaro product - I have tried it with a TKB Home TZ68E and a FOXX FPZWSSG5UK Smart Switch with no luck
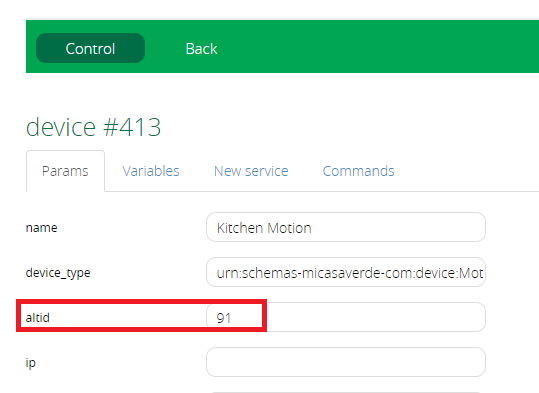
91 - Motion Sensor Z-Wave Node ID
133 - Association Command Class
1 - Set
2 - Group you want to use
85 - Dimmer 2 Z-Wave Node ID
would it look like this after I have swapped them numbers ?
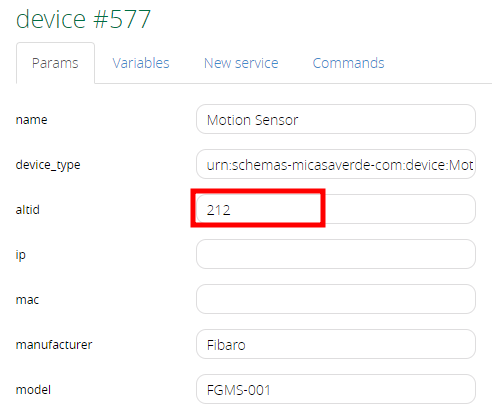
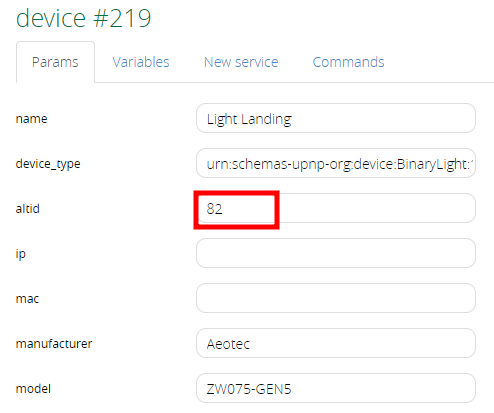
luup.call_action(‘urn:micasaverde-com:serviceId:ZWaveNetwork1’,‘SendData’,{Node=‘577’,Data=‘133 1 2 219’},1)
Had a go - tried to run the LUUP but it comes up with failed - I changed the 91 to 212 and the 85 to 81 - I must be doing something wrong not sure what - Thanks again for your help
Brilliant - That worked in the test LUUP - Should the light turn on when that code is run ? you don’t see anything happening - once its run is that it ? should it be associated ? - Sorry for all the questions as I don’t really know what I’m doing when coding
Yes I forgot to say when you click the “Go” button on the LUUP test window, you then also need to triple-click the B-Button on the motion sensor device to wake it up and accept the new configuration.
Maybe try and run the code again and press the B-Button on the motion sensor 3 times.
It may take a few attempts to get it to set and then for the smart plug to turn on upon motion detection.
OK, first, setting multi-channel associations are fiddly as hell and might take multiple attempts to get it set. A couple of things:
First, only need to set the associate on the Motion sensor, you shouldn’t need to be doing anything with the Switch.
Second, Fibaro changed what Association groups do what through various models of the motion sensor, so it it is going to vary from firmware to firmware if you are suppose to use Group 1(older models) or Group 2 (newer models) to send motion based triggers to your switch.
Third, the version of the Switch is also important. If you switch is older (not zwave plus) and your motion sensor is newer (is zwave plus) or your switch was added in unsecure mode but the motion sensor was added in secure mode, the Switch won’t know how to decode the signal. To fix this you need to setup parameter 18 on the Motion sensor to disable sending groups as secure. I would just always do this, as it is almost impossible to tell how Vera included each device. And setting it to zero will make it aways work for any mixture of old/new devices. So set Parameter 18 to 0 (if Parameter 18 doesn’t exist you have an older sensor and probably need to use group 1 instead of group 2).
Lastly, Vera can only write the association to the device, it can’t actually read it (the UI that Vera is showing on the Set Association UI is just a best guess of what was sent not reality of what was set). If something goes wrong, the only way to ensure the device’s association table was cleared correctly is to remove and re-include the motion sensor to the Vera.
What I would do…
Remove the device and re-include to ensure you have a fresh association table on the sensor.
Identify what firmware version you have so you know what you are doing. The firmware is both on the device (where the battery is) and in Vera if you look at Varible tab for the device, I believe the last two digits in the Version Info is the firmware number.
For Firmware 3.0 and higher:
First set paramater 18 to 0 (1 byte)
Do a configure node now (on the advanced command tab) and just keep mashing the thing, shaking it or whatever to keep it awake until it configures.
Then add Group 2 to the device association (in the UI).
For Firmware 2.0 to 2.9
Add Group 1 to the device association (in the UI)
Now go into the Set Association UI and select check box next to the Switch you are targeting, and put the channel number in the field next to it.
Save the association.
Shake the device, press the button whatever you need to do to keep it awake, and get through the configuration setting.
If it hangs, go to the device and press configure node now, again, and try again.
If It looks like you did everything correctly and it still doesn’t work.
Unpair and re-add the device. Do everything above except the part where you add the group and the associate. And instead use the LUA command to set the multi-channel association. Make sure you are using the right Group number for your firmware version and Channel number.
Also one last tidbit, if you changed parameter 8, then remember the association signal will only be sent when the day or night as per the setting, So if you set it to 2, and it is too bright when you are doing your test… you aren’t going to trigger the switch
And you might try setting the association without the Channel number just to make sure everything is working right, I believe that will either only trigger Channel 1 or might trigger both Channels, but is a reasonable test… to make sure the association is working at atll. I am not sure if older fibaro sensors supported multi-channel or not, which might also be your problem…